


Lesson: Mineral Mayhem
Lesson adapted from Mineral Mayhem, created by the University of Minnesota and Purdue University’s EngrTEAMS: Engineering to Transform the Education of Analysis, Measurement, and Science in a Team-Based Targeted Mathematics-Science Partnership. Several hands-on activities were presented at ASEE’s 2017 Workshop on PreK-12 Engineering Education in Columbus, Ohio.
Click HERE for PDF of the entire eight-lesson unit and HERE for a short video. See the U.S. Geological Service’s minerals pages for images and information about mineral resources.
Summary
Mineral properties and identification tests provide the basis for an engineering-driven earth science unit based on the real-world premise of a cargo train derailing from its tracks. Students design a process to sort minerals that have been spilled into a lake, learning about the value of nonrenewable mineral resources while analyzing data and calculating costs, benefits, mass, volume, and density. Students also will strengthen communication skills by creating a presentation to explain their process and justify their decisions to a “client.”
Grade level: 5- 8
Time: Eight lessons over 14 50-minute class periods
Learning objectives
After doing this lesson, students should be able to:
- Identify minerals and calculate density
- Follow the engineering design process to devise a system, taking constraints into account
- Understand linear relationships and slope
- Use science and math to justify decisions
- Communicate and explain their designs through a presentation
Learning standards
Next Generation Science Standards
- 5-PS1-3: Make observations and measurements to identify materials based on their properties.
- MS-ETS1-1: Define the criteria and constraints of a design problem with sufficient precision to ensure a successful solution, taking into account relevant scientific principles and potential impacts on people and the natural environment that may limit possible solutions.
- MS-ETS1-2: Evaluate competing design solutions using a systematic process to determine how well they meet the criteria and constraints of the problem.
- MS-ETS1-3: Analyze data from tests to determine similarities and differences among several design solutions to identify the best characteristics of each that can be combined into a new solution to better meet the criteria for success.
- MS-ETS1-4: Develop a model to generate data for iterative testing and modification of a proposed object, tool, or process such that an optimal design can be achieved.
Common Core State Standards – Mathematics
- 8.EE.B.5: Graph proportional relationships, interpreting the unit rate as the slope of the graph. Compare two different proportional relationships represented in different ways.
- HSS.ID.C.7: Interpret the slope (rate of change) and the intercept (constant term) of a linear model in the context of the data.
Engineering connection
Mineral and metal mining contributes roughly $75 billion a year to the U.S. economy and directly employs hundreds of thousands of people. Engineers must figure out how to extract natural resources of different densities and value from the earth and safely transport them to where they’re needed, whether bauxite to aluminum smelters or soda ash to fertilizer factories.
Trains have long been used to ship minerals from mine to customer. But sometimes trains derail, spilling their precious cargo and endangering the environment along with the people who live near the accident site. Engineers can help companies find a cost-effective way to recover the minerals.
In this series of activities, your team will compete to design the best system for sorting and recovering different minerals that spilled into a lake. You will have identify the minerals, learn about their properties, and factor such trade-offs as revenue versus extraction costs into your proposal.
Lesson Summaries
Lesson 1: Off the Rails (Two 50-minute class periods)
Students are introduced to the engineering problem and design process. They read a client memo, which orients them to the problem of sorting minerals reclaimed from a lake after a train accident. They then will conduct research on the importance of minerals as a nonrenewable resource.
Lesson 2: Let’s Sort It Out (One 50-minute class period)
Working in groups of three, students sort a set of minerals according to their similarities and differences and identify possible ways of distinguishing between minerals. They will learn about the mineral identification methods used by geologists.
Lesson 3: Which Mineral is That? (Two 50-minute class periods)
Working in teams, students will work through a series of stations to measure the physical properties of minerals, learning about mineral hardness, streak, shape (cleavage/fracture), luster (metallic/glassy/dull), magnetism, and color.
Lesson 4: Discovering Density (Three 50-minute class periods)
Student teams investigate the relationship between mass and volume for a material. They will measure the mass and use water displacement to determine volume of mineral samples. They will create a scatterplot of mass vs. volume, draw a line of best fit, and calculate the slope of the line to
discover the density of the minerals. Students will also use the density formula to calculate densities of additional minerals.
Lesson 5: Go with the Flow (One 50-minute class period)
Students will revisit the criteria and constraints of their engineering design challenge. They will be introduced to the various machines that will be available for their use, how the machines work, and their associated costs. Students will be given a sample process flow diagram that shows a process
that could be used to sort a set of minerals. They will learn how to interpret the diagram, calculate the cost of the process, and determine the value of the minerals that are sorted. This process will not be optimized, so students will have an opportunity to investigate possible improvements.
Lesson 6: Engineering Design Challenge (Two 50-minute class periods)
Teams will be given the names of a new set of minerals to sort and identify. They will work together to create a process flow diagram that shows how the minerals could be sorted. They will justify each choice and evaluate their process design based on the cost of the machines they use and the value of the minerals they sort.
Lesson 7: Process Redesign (One 50-minute class period)
Student teams will find out that plastic and wood are also mixed in with the minerals being recovered from the lake. Given the new constraint, they will modify their previous process flow diagram to separate the plastic and wood from the minerals.
Lesson 8: Convincing the Client (Two 50-minute class periods)
Having optimized their process designs, teams will create presentations about their sorting processes. They will justify their choices and try to convince the client that their process is the best option. Students will also draft a memo to the client summarizing the design and their arguments in favor of it.
Materials
Per classroom:
- Sheet of poster paper
- Markers
- White out
- Engineering design process poster
- Rag and water (activity #3)
- 2 sets of inch density cubes (activity #4)
- 2 sets of equal mass rods (activity #4)
- 1 set of 1000 plastic centimeter cubes (activity #4)
Per group of 3: 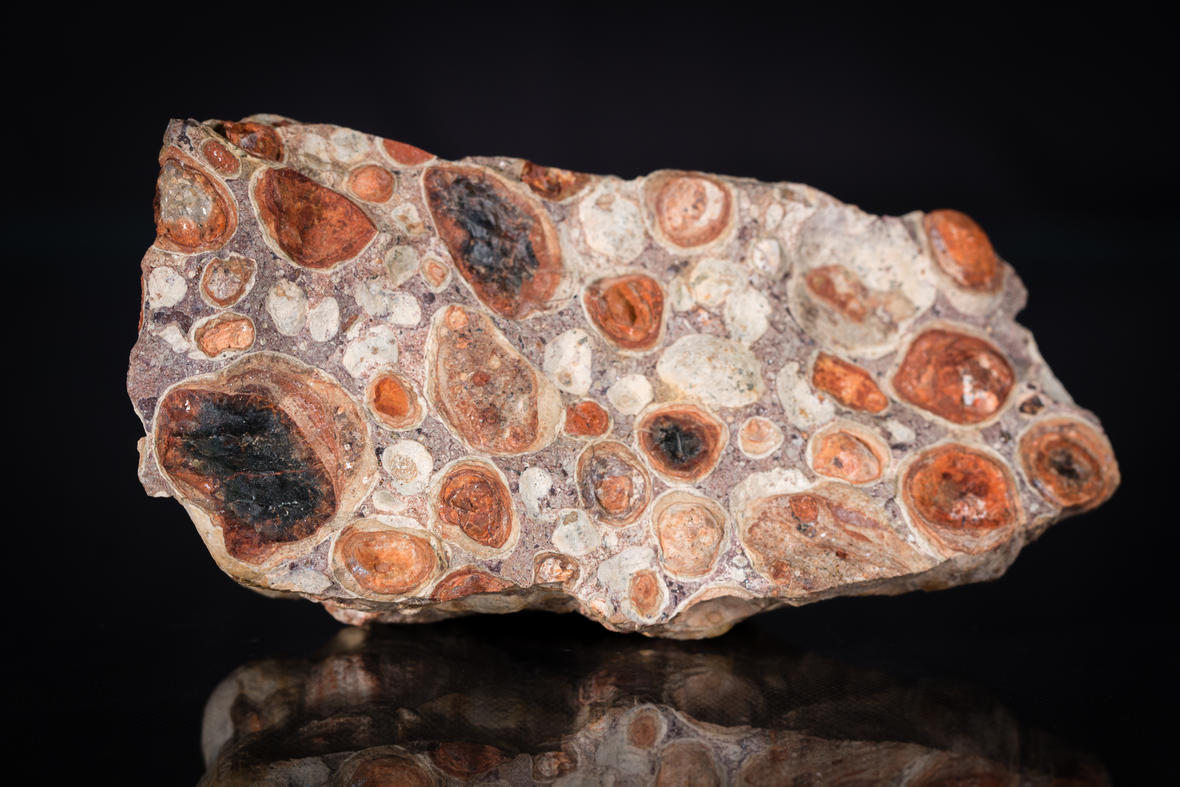
- Client letter 1 from Rocky Rail Transport (activity #1)
- Set of 10-12 minerals. Any diverse mix of minerals will suffice, but a possible set could include quartz, feldspar, magnetite, calcite, talc, hornblende, muscovite, bauxite (see image), graphite, and pyrite. (activity 2 & 3)
- Mineral identification testing materials; streak plates, glass plates, steel nails, pennies, magnets, hand lenses (activity #3)
- Electronic balance (activity #4)
- Pieces of aluminum gathered from home and school, varied sizes (activity #4)
- 5 pieces of graphite, varied sizes ranging from 1-50 g (activity #4)
- 5 pieces of magnetite, varied sizes ranging from 15-110 g (activity #4)
- Mineral identification testing materials; streak plates, glass plates, steel nails, pennies, magnets, hand lenses (activity #3)
- Metric ruler (activity #4)
- Handful of centimeter cubes (activity #4)
- Plastic beaker for holding water (activity #4)
- Transparent plastic graduated cylinder – 25 mL, graduated to .5 mL (activity #4)
- Transparent plastic graduated cylinder – 100 mL, graduated to 1 mL (activity #4)
- 1 overflow can (optional) (activity #4)
- Glue or tape (activity 5,6,7)
- 4 sheets of poster paper (activity 5,6,7)
- Samples of wood and plastic (activity 7)
- Markers (activity 8)
Per student:
- Pencil (activities #1-8)
- Engineering notebook (activities #1-8)
- Engineering design process slider (activities #1-8)
- Problem scoping prompts (lesson 1) (Word.doc)
- Graph paper (activity #4)
- Pipette (activity #4)
- Ruler (activity #4)
Lesson 1: Off the Rails (3 activities)
Note: Please see full Mineral Mayhem lesson [PDF] for detailed instructions and client memos.
Students will be introduced to the engineering problem by reading a client memo, which orients them to the problem of sorting minerals. They will be
introduced to engineering and the engineering design process and will conduct research on the importance of minerals as a non-renewable resource.
Teacher Background
• Teamwork: Students should be grouped strategically and may or may not be assigned jobs within their group. When forming student groups,
consider academic, language, and social needs. In place of strategic grouping, a random grouping can be substituted. Students will work in these
groups, or “teams” throughout the unit. Effective teamwork is essential in this unit as well as in engineering in general; however, this unit does not
provide specific support to develop those skills. If your students do not have experience with teamwork, it is highly recommended that you do some
targeted team-building activities prior to beginning this unit.
• Engineering & Engineering Design: This lesson includes discussion about engineers and engineering. This may take more or less time depending on how much prior experience students have with engineering. The unit focuses on process engineering, where engineers design and optimize processes in various industries. In this unit, students will be designing a sorting process; they will not build or design any of the sorting machines. They are not responsible for removing the minerals from the lake. Additionally, the unit is also related to environmental engineering where engineers create solutions to mitigate human impact on the environment.
• Engineering Notebook: Throughout the unit students will be recording information in an engineering notebook. This can be either a binder or
a bound notebook, but in either case students will need the notebook for all eight activities.
Before the Activity
Administer the Lesson 1 Content Pre-Assessment (word.doc) prior to starting this lesson, either on a different day or at the start of the class period.
Label all minerals using white out and a fine-tip permanent marker:
A: feldspar
B: talc
C: quartz
D: calcite
E: bauxite
F: magnetite
G: hornblende
H: muscovite
I: graphite
J: pyrite
Classroom Instruction
1. Introduce the unit. Say: We will be working on an engineering project related to helping sort minerals after a train derails.
2. Introduce the engineering design notebooks. Say: Engineers use notebooks to document their design process and keep notes. We will also be using Engineering Notebooks throughout our engineering challenge. Each day, you’ll use the notebooks to take notes and record what you are learning. In addition, there are questions that you’ll be asked to answer. teams. Each day, turn in your engineering notebooks before you leave class.
Note: You can have your students write in their notebooks in two different colors – one for thoughts and prompts that are individual and one for thoughts and prompts that they discuss in their teams. This well help you assess the students ideas as well as help them recognize their own contributions and ideas. You also may want to have students complete a Notebook Cover and start a Table of Contents page. You may choose to have students tape/glue copies of the notebook prompts and/or the duplication masters into their notebooks.
3. Students individually complete notebook prompts about engineering. Have students individually answer the following prompts in their notebooks prior to teaching them anything else about the unit or about engineering. Tell students it is okay if they do not know very much about engineers or engineering – just have them answer the questions to the best of their ability.
• What do engineers do?
• How do engineers solve problems?
Have them write their response in their engineering notebook, then discuss their answers with their neighbors. Have students share their responses with the class, and use students’ responses to gauge their understanding of engineering and guide the following discussion. Encourage students to record new ideas in a different color in their notebooks.
4. Introduce the Engineering Design Process. Show Engineering Design Process graphic. Briefly describe each step. See the front matter for explanations of the steps of the engineering design process.
Introduction ![]()
1. Introduce the client and the problem. Explain that the students are going to be working in small groups to solve a problem being brought to them by the Rocky Rails transportation company. Divide students into groups of three. These groups should be their teams throughout the rest of the unit. Distribute copies of Client Letter 1 and direct students to read the letter.
Note: For ELL students or students who struggle with reading, a graphic organizer or other reading support strategy will be useful.
2. Discuss ongoing communication with the client. Explain that engineers often need to ask questions to help clarify the problem and what they are being asked to do. Initial communications from the client may be missing important information that the client might not have known the engineers would need. Students will need to ask questions of the client to better understand their task. Throughout the unit, students will continue to communicate with the client on a regular basis to receive more information and provide progress updates.
Activity #1
1. Problem Scoping Part 1: Generating Questions. The problem statement given in Client Letter 1 purposefully does not provide all the information necessary to solve the problem. In this activity, students generate questions about the problem. This processes of generating questions for the client is an important skill on its own, but it also helps to ensure that the students fully understand the problem and their task. Once students have finished reading, have them generate questions to ask of the client.
• Have students respond to the following prompt in their notebooks: What questions do you want to ask the client?
• Ask students to share their questions. As students share, record these questions so that they are visible for all students to see.
• “The Client” should provide answers to these questions. Compile a list of questions for the client, which can then be answered with Client Letter 2. Some questions, however, may need to be answered right away by the teacher on behalf of the client.
• Students should be generating questions that 1) they need answered to solve the problem and 2) will help them understand the problem better. Students will probably have many relevant questions, but if they struggle you can give them an example. See Client Letter 2 Template for sample questions and strategies for answering the questions. (Also on p. 31 of the Mineral Mayhem lesson plan.)
• Once students have exhausted their questions, instruct them that you will share the questions with the client and get back to them with more information.
2. Engineering Design Process. Ask: Which phase of the engineering design process are we in right now? (Defining the problem) Say: We are getting ready to begin learning about minerals and why they are important.
Activity #2
Note: This activity can be done either before or after Problem Scoping Part 2.
3. What do you notice and wonder? Show students several minerals and tell them that these are minerals similar to the ones spilled by the Rocky Rails company. Ask: What do you notice about these minerals? What do you wonder about minerals? Allow students to share answers to both prompts.
4. Defining minerals. Explain that a mineral is defined as a naturally occurring, inorganic solid with a definite composition and crystal structure. This means that minerals are not living and that minerals of the same type have the same characteristics, including their structure and what they are
made of.
5. Researching mineral value, uses, and impacts. Tell students that they are going to work with their teams to research minerals and find out why they are important. There are three different research guides available for use, and each group member will be responsible for gathering information from one guide. Each individual will record their findings on the 1.d. Mineral Research worksheet (page 27 of the Mineral Mayhem lesson plan) or in their engineering notebooks, and the group will come together to share what they have found. These research guides constitute the minimum of what is necessary for the unit. Teachers are encouraged to supplement with resources suitable for their class.
• Distribute Non-Renewable Resources Guide, Mineral Uses Guide, and Environmental Impacts Guide. (Pages 28, 29, and 30 of the Mineral Mayhem lesson plan.)
6. Mineral research jigsaw. Provide students with time to view the resources, take notes, and share information with their teammates. Each student will only use one of the research guides. Individuals are responsible for sharing what they learned from their packet with their teammates.
Activity #3
7. Problem Scoping Part 2: Formulating the Problem
Note: Prior to this, the teacher must prepare a new version of the Client Letter 2 with answers to the students’ questions (see the 1.h. Client
Letter 2 Template on page 32 of the Mineral Mayhem lesson).
• Share Client Letter 2: Have students read the response from the client.
Note: Consider using visuals to support student understanding of the problem and their role in designing a sorting process. For example, images or videos of material being removed from a body of water would illustrate what will be done by others and not by the students.
• Individually: Based on the original client letter and the response letter, have students fill out their engineering notebooks with the prompts from the Problem Scoping Prompts master (or attach the worksheet in their notebooks).
• In Teams: Once all students have completed the prompts individually, have students discuss their answers with their team. Using a different colored pen or pencil, students should add to or change their answers based on the consensus within the group (or write in the team answers section). Make sure that students indicate which color represents individual and team work.
• Class Discussion: Call students back together for a whole group discussion. Ask: What is the client’s problem? (Minerals have fallen into a lake and must be sorted.) Ask: What is your role in solving the problem? (Learn how to identify minerals, create a process to sort the minerals, and justify why their process is the best option.) Ask: What questions do you still have about the situation or your role in addressing it? (Answers will vary – you can either answer these questions immediately or record them and include the answers in a later client letter.)
• As students share these answer and/or questions, use markers to record questions on an anchor chart to reference throughout the unit. Note: The purpose of an anchor chart is to make thinking visible to all in the classroom. Anchor charts are often made with poster paper and markers but could also be written on a whiteboard/chalkboard or created electronically. While the anchor chart can take multiple forms, it should be visible to students throughout the unit.
• Tell students that they will continue to get more information that may help answer their questions over the course of the next eight lessons.
8. Engineering Design Process. Ask: Which phase of the engineering design process are we in right now?
• Still defining the problem & gaining background information, learning about minerals and why they are important.
Closure
1. Restating the problem. Ask: What is the big problem in our engineering challenge? (Sorting minerals that have been recovered from a lake.)
2. Exit Slip—Reclaim vs. Replace. Direct students to respond to the following prompt in their engineering notebook: Write a claim with evidence
about why the company is recovering the minerals from the lake instead of just getting a new supply. Their responses to this prompt will indicate their
understanding that minerals are valuable and non-renewable resources. If student responses do not indicate this, the topic will need to be readdressed later.
This material is based upon work supported by the National Science Foundation under grant NSF DRL-1238140. Any opinions, findings and conclusions or recommendations expressed in this material are those of the author(s) and do not necessarily reflect the views of the National Science Foundation.
Filed under: Grades 6-8, Grades K-5, K-12 Outreach Programs, Lesson Plans
Tags: Class Activities, Common Core mathematics, Earth Science, Engineering Design, entrepreneurship, Grades 6-8, Grades K-5, Industrial engineering, Lesson Plan, Mathematics, mineral, NGSS, Purdue University engineering education outreach, scatterplot, STEM integration