Activity: Design a Winter Rooftop
(Lesson courtesy of Teachengineering and the Center for Engineering Educational Outreach, Tufts University).
Grade Level: K-5.
Time Required: 40 minutes.
Cost Per Group: US$ 1.
Overview
In this class activity, students in grades K-5 observe how various roof shapes perform under the challenge of a flour “snow storm.” As they debate the advantages and disadvantages of different shapes of roofs, students learn how engineers must accommodate climate and the environment when designing a housing structure.
Engineering Connection
Civil engineers must always consider the climate of the area in which they plan to build their structures. The design and material chosen for the roof of a building can help in maintaining the appropriate temperature within the building and providing a stable structure to protect against the weather.
Educational Standards
Massachusetts Science (Grades 1-2, 2001)
1.3. Identify and describe the safe and proper use of tools and materials (e.g., glue, scissors, tape, ruler, paper, toothpicks, straws, spools) to construct simple structures.
2.1. Identify tools and simple machines used for a specific purpose, e.g., ramp, wheel, pulley, lever.
4. Demonstrate that the way to change the motion of an object is to apply a force (give it a push or a pull). The greater the force, the greater the change in the motion of the object.
Learning Objectives
- Materials both natural and human-made have specific characteristics which determine how they will be used.
- Engineering design requires creative thinking and consideration of a variety of ideas to solve practical problems.
Learning Standards
Next Generation Science Standards
- Analyze data from tests of two objects designed to solve the same problem to compare the strengths and weaknesses of how each performs. [Grades K – 2]
- Develop a simple sketch, drawing, or physical model to illustrate how the shape of an object helps it function as needed to solve a given problem.
Materials
- 3 shoeboxes or similar container
- 1 poster board
- 1 newspaper
- About 2 cups of flour
- Flour sifter or sieve (optional)
Vocabulary
A model is a copy of an object that is too big, too small, or too complicated to study easily. Engineers use models to test and study how well things are built or to test different designs.
A load to an engineer is any force that pushes or pulls. For example: the weight of snow pushes down on a building, creating a snow load. A wind load pushes on the sides of a building.
Introduction/Motivation
When you walk or drive around your neighborhood what do the roofs look like? What shape is the roof on your house?
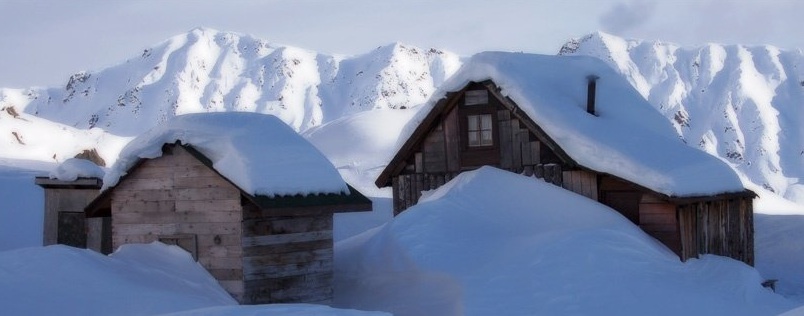
What is the climate where you live? Can you think of reasons why the climate would influence the shape of your roof? Living in an area with a different climate might affect the style of roof that you might find. Imagine you lived in an area that received a lot of snow: a major issue that architects and engineers must think about is snow collecting upon roofs. If the roof is not strong enough, the weight of the snow may cause the roof to cave in. As an engineer designing a roof in a snowy climate, what roof shapes would you consider to prevent snow from building up on the roof? What types of materials would you use to build your roof to help prevent snow from sticking to the roof?
Procedure
Preparation
This activity is designed as a demonstration for the entire class. Teacher may also assign older students to work on further rooftop design and modification, as described in the Extensions, below.
1. Cut away one end of the box so that students can view the effects of the “snow” load.
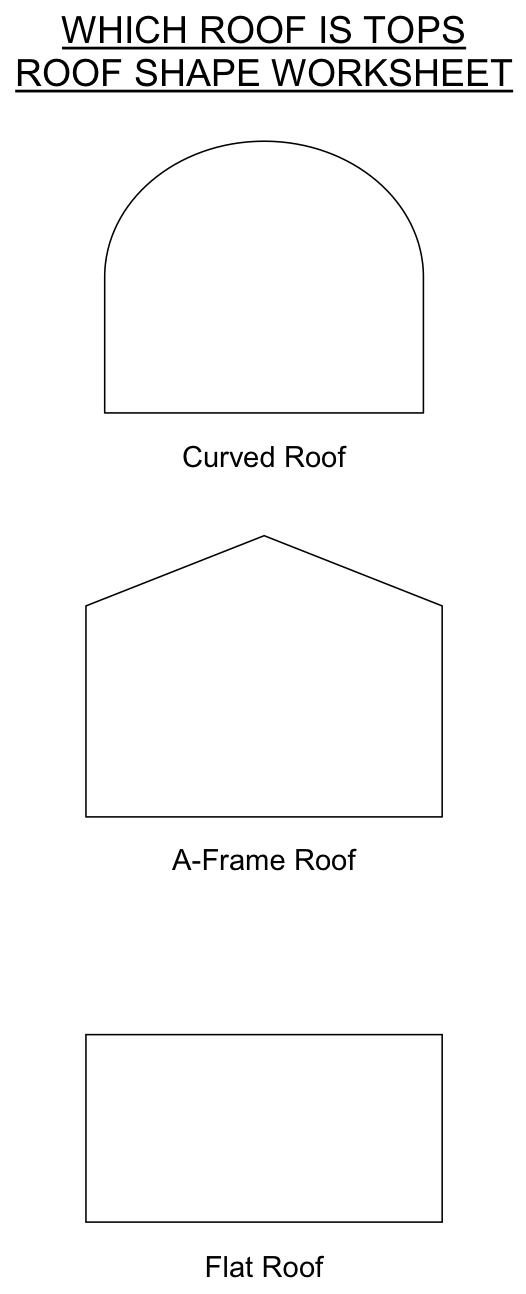
2. Use poster board to make three different types of roofs, one for each shoe box; curved, A-frame, and flat (see Roof Shape Worksheet).
3. Using a single piece of masking tape, tape each edge of the roof to the open top of the shoebox.
4. Place newspaper under the testing station to catch any loose flour or a cookie sheet under the box so that loose flour can be used in the next test. To avoid a flour storm, after each test, carefully lift the roof and gently tap the bottom so that the flour falls into the shoe box. Pour the flour from the shoe box into a container to be used for the next test.
5. Obtain flour and containers to hold about 2 cups of flour; a flour sieve may also be a helpful nice tool.
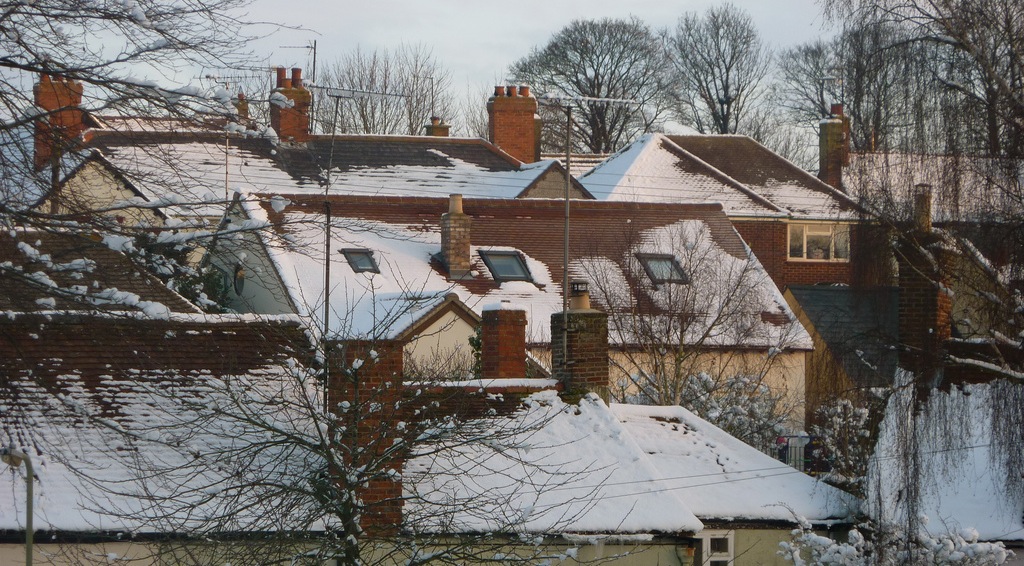
6. Gather picture of different types of roof to show the class.
With Students
1. Show the students pictures of different styles of roofs, and talk with them about the types of climates these roofs might be found in. What characteristics make a roof appropriate for a given climate?
2. Show the class the example roofs you created, explaining that the flour will represent snow. Have them make predictions as to which roof would be best for a snowy climate. Which types of roofs will cave in to snow the easiest? Why?
3. Slowly sprinkle the “snow” onto the center of the roof. Keep watching the roof through the open end of the box.
4. Have the students make observations as the snow is applied to the roof, guiding them with the follow questions:
- Which types of roofs cave in to snow the easiest? Why?
- Does the “snow” pile up or slide off?
- Which roofs sag? What does the sagging mean?
- Which roofs fall down? Do they fall slowly or all at once?
- In addition to snow loads, what other considerations should we take into account in the construction and use of roofs — wind, heat, other climate issues?
- Which roof would you choose if you lived in a snowy area? A windy area? Rainy? Extremely hot and sunny?
Assessment
Extensions
- Equipped with their own shoe box and poster paper materials, older students can work in groups to produce a modified and improved rooftop design.
- For homework, have students sketch a picture of the roof of their house or apartment building, asking them to look carefully for specific elements that may have been designed to accommodate the weather or other elements. How does their roof compare with those of their neighbors? Can they find any unusual or unique roofs in their neighborhood?
- Once students return with their sketches and notes, lead a class discussion about their findings.
- Introduce students to the concept of the “green,” or environmental roof, discussing with them our eGFI feature, Green Roofs, and how engineers are producing more energy-efficient structures.
Copyright © 2004 by Worcester Polytechnic Institute including copyrighted works of other educational institutions; all rights reserved. Supporting Program: Center for Engineering Educational Outreach, Tufts University
Image Credit: Flicker Creative Commons, “Snowed In Cabin,” Cecil Sanders; “Wheatley Rooftops,” Christian Guthier
Filed under: Class Activities, Grades K-5, Grades K-5
Tags: Civil Engineering, Class Activities, Environmental Engineering, Grades K-5, ice, insulation, roof construction, snow


