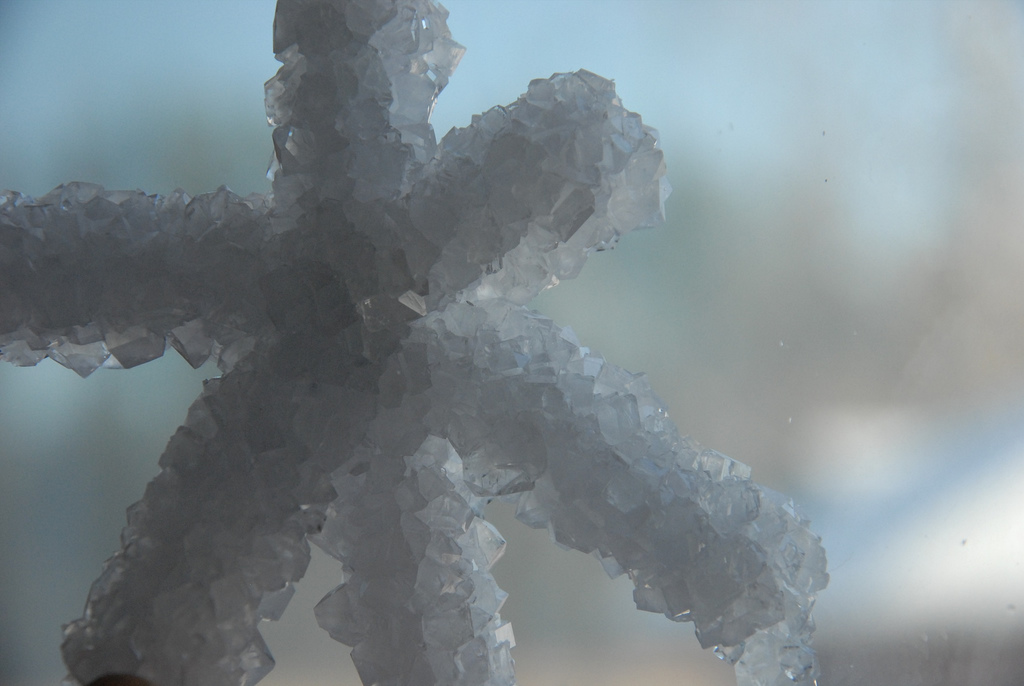
Activity: Grow A Crystal Snowflake
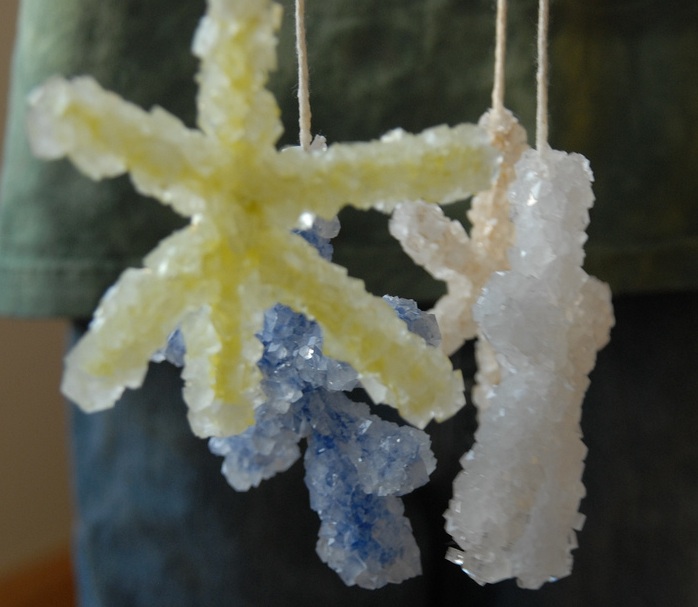 (This lesson combines material from Cornell Center for Materials Research’s Snowflakes Lab Book and Talking Science. Special thanks to Angela for images from her Under The Sun blog.) Level: Grades 5-8. Time Required: 20 – 30 minutes.
Snowflake in a Jar
Overview
Students in grades 5-8 create long-lasting, shimmering snowflakes using a simple chemical process. They supersaturate hot water with borax, lower a pipe cleaner snowflake shape into the liquid, and leave it suspended overnight. As the water cools, the borax forms into crystals upon the pipe cleaner. The next class session, the students will return to discover their beautiful crystal snowflakes.
Background
Crystals are solids that are formed by a regular, repeating pattern of molecules connected together. Most crystals come in geometric shapes with sharp, straight edges and smooth sides. Salt crystals have a cubic shape while sugar crystals have a flattened rectangular shape. When a crystal breaks, it will break cleanly and smoothly into smaller versions of the same geometric shape.
Crystals can form when a supersaturated liquid that contains a dissolved mineral cools. In this activity, a supersaturated solution is made using hot water and borax (a soft crystal). The hot water causes the water molecules to move further away from each other so that more of the borax can dissolve into the solution. Once the solution reaches a point where it cannot dissolve any more borax, it becomes supersaturated. As the solution cools, the water molecules come closer together again causing the forming borax crystals to cling to the pipe cleaner.
National Standards
5-8.1 Science as Inquiry, grades 5-8. As a result of this activity, all students should develop:
- Abilities necessary to do scientific inquiry
- Understandings about scientific inquiry
5-8.2 Physical Science, grades 5-8. As a result of this activity, all students should develop an understanding of:
- Properties and changes of properties in matter
- Motions and forces
- Transfer of energy
5-8.7 History and Nature of Science, grades 5-8. As a result of this activity, all students should develop an understanding of:
- Science a as a human endeavor
- Nature of science
Vocabulary
- Crystal: a solid containing an internal pattern of molecules that is regular, repeated, and geometrically arranged.
- Molecule: the smallest physical unit of a substance that can exist independently. A molecule is made up one or more atoms held together by chemical forces.
- Supersaturated solution: a solution that has been heated in order to dissolve more material than would be possible at room temperature.
Materials
Per student group:
- a length of string
- one or two pipe cleaners (white or colored)
- scissors
- a wide-mouth jar
- boiling water
- borax (approximately 6 – 9 teaspoons)
- a spoon or stirrer
- a pencil
- food coloring (optional)
Notes: Jars must be large enough to allow the snowflake skeleton to suspend without touching the bottom or sides. Large mayonnaise jars work well; teachers may have students collect and bring into class a few weeks before the activity.
Borax can be purchased at supermarkets in the laundry section; be sure to buy borax flakes, not borax detergent.
Procedure
Safety: Teachers should pour the boiling water to avoid mishaps and may need assistance for a large group. Safety gloves are recommended. Jars should be thick enough to accommodate the heat of boiling water.
Create the snowflake skeletons (10- 15 minutes)
1. Introduce the activity by explaining that the students are going to create a crystal snowflake out of a supersaturated solution. Ask them to guess what “supersaturated” might mean.
2. Divide a large class into groups of 2-3 students; for small classes, students can work individually.
3. Distribute all materials, then illustrate on the blackboard the basic shape of the snowflake students should work to design. Direct students to start create their snowflake skeletons using the pipe cleaners and string.
Directions for students:
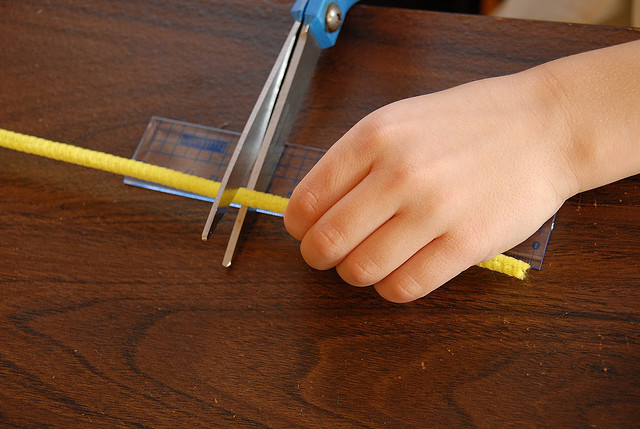 |
1. Cut the pipe cleaners into 3 equal sections. Twist the sections together in the center so that you have a “six-sided” star shape.
2. If your points are not even, trim the pipe-cleaner sections to the same length. |
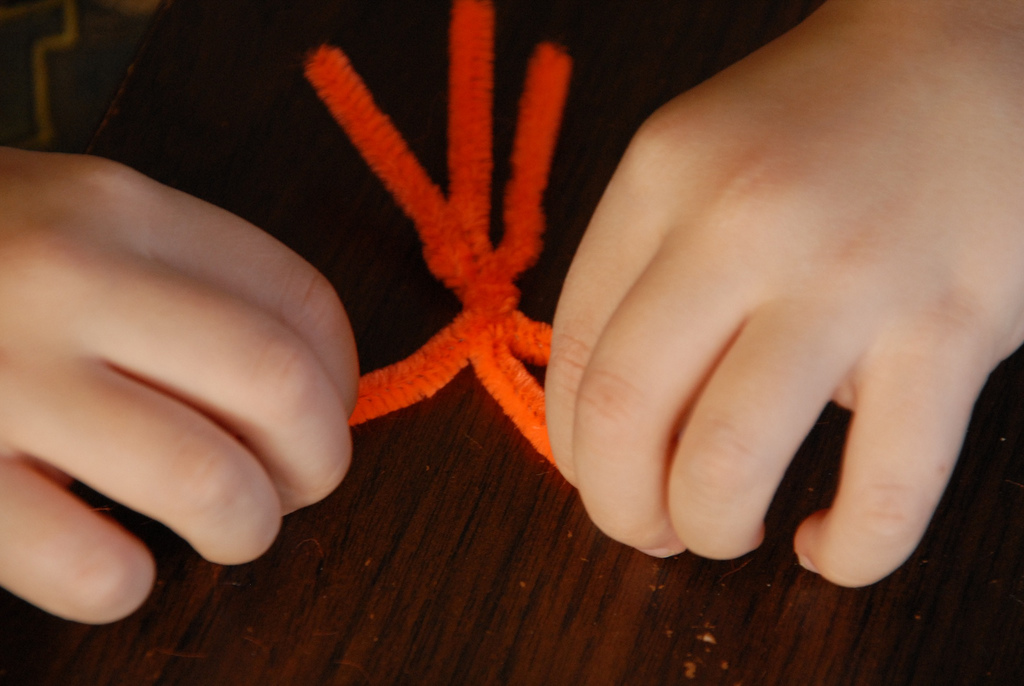 |
.3. Twist the pieces together to form a snowflake shape. |
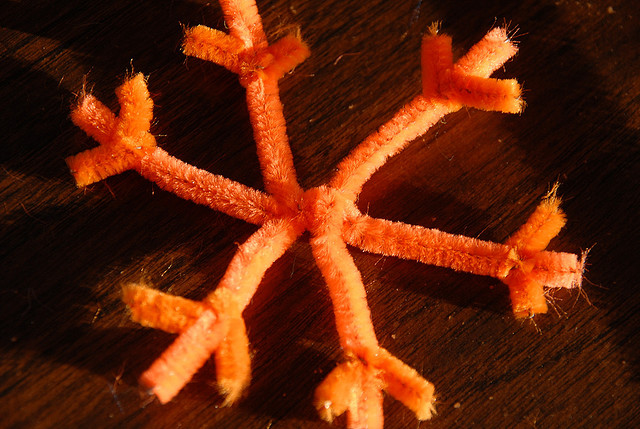 |
.4. Add additional parts, if desired, such as decorative sections on the edges. |
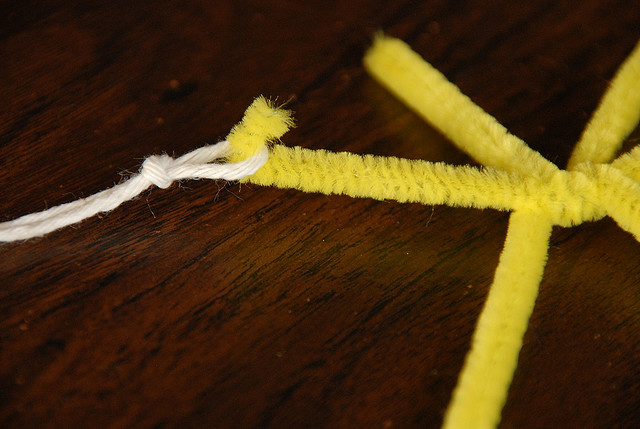 |
.5. Attach a piece of string to the top of one of the pipe cleaners and secure the other end to a pencil, which will be used to suspend the snowflake from the mouth of the jar. |
Prepare the borax mixture:
1. Teachers should fill each jar with boiling water.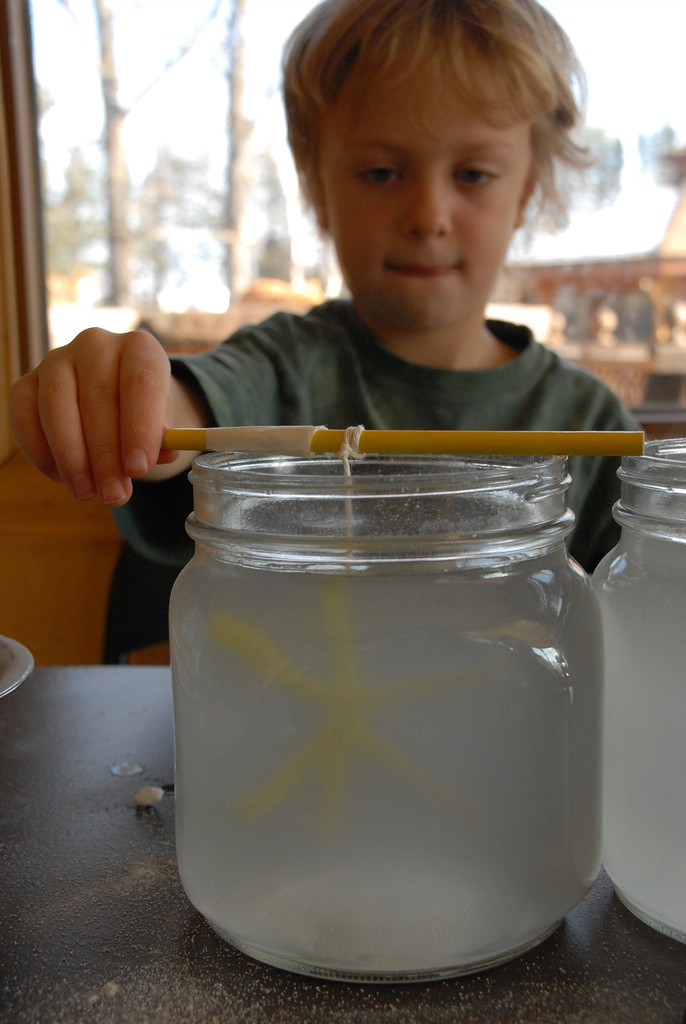
2. Have students mix the borax into the water one tablespoon at a time. Use 3 tablespoons of borax per cup of water. They should stir it is until dissolved, but not worry if powder settles on the bottom of the jar.
3. At this point, a little food coloring can be added to give the snowflake a particular hue.
4. Have students carefully insert the pipe cleaner skeletons into their jars so that the pencil rests on the lip of the jar and the snowflake is freely suspended in the borax solution. The skeleton should not touch the sides or bottom of the jar.
5. Place the jars in an undisturbed area of the classroom. 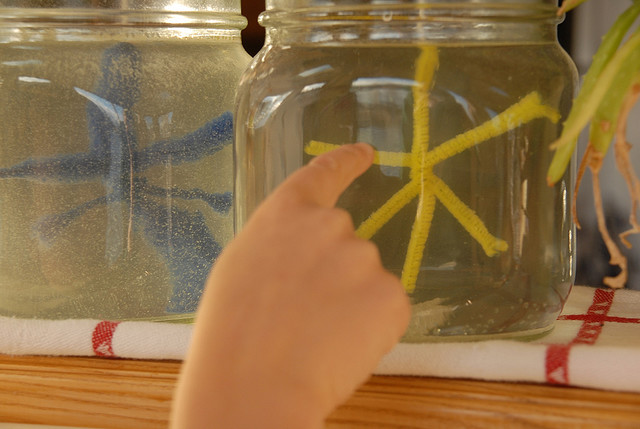
6. The next day, help the students remove their snowflakes from the jars, placing them on a rack, or suspending them, to dry. If treated with care, the snowflakes will last a long time and can be sent home as a holiday craft item.
Extensions
- Have students examine the crystal formations on their snowflakes using a magnifying glass, then describe the shape and properties of the crystals. Have them research the various types of crystal shapes (lattices) and build models using crafts materials such as toothpicks, clay, marshmallows, gumdrops, etc. Have students explain the atomic structure of each crystal and how it forms that specific shape.
- Experiment with different variables using the same activity. What happens if the cooling rate of the solution is changed by refrigeration?
- Experiment with other materials, such as sugar or salt, which take much longer to form into crystals.
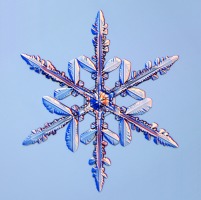
- View online real snowflake images, and learn a great deal more about ice and snow at Snowcrystals.com, a website maintained by Physics professor Kenneth Libbrecht of Cal Tech.
- Discussion Questions
- Will substituting sugar or salt for borax yield the same crystal formations?
- What determines the color of crystals found in rocks?
- How is the crystal-forming process that occurs from slowly cooled molten material different from the method used in this activity?
- How and why are crystals used in electronic devices?
Scaling
Younger students can simply bend a single pipe cleaner into the shape of their choice — heart, star, circle, letter, square, etc.
Resources
- The Snowflakes Lab book from the Cornell Center for Materials Research contains several other snowflake-related lessons and activities, as well as additional information on snow and crystals
- Lets Grow Some Crystals! on the Talking Science blog (Science Friday Initiative) combines this borax activity with other snowflake and crystal experiments.
- Take students on a “Snow Safari,” viewing this video from Science Friday and Ira Flatow: http://www.sciencefriday.com/tools/players/mediaplayer.swf
- See Angela’s version of this activity on her Under the Sun blog.
- See related egfi lessons: for grades 6-12 on Candy Crystals; and another, grades 6-12, on Crystal Formation.
Filed under: Class Activities, Grades 6-8, Grades 9-12, Grades K-5
Tags: Chemistry, Crafts, Crystal study, grades 5-8


